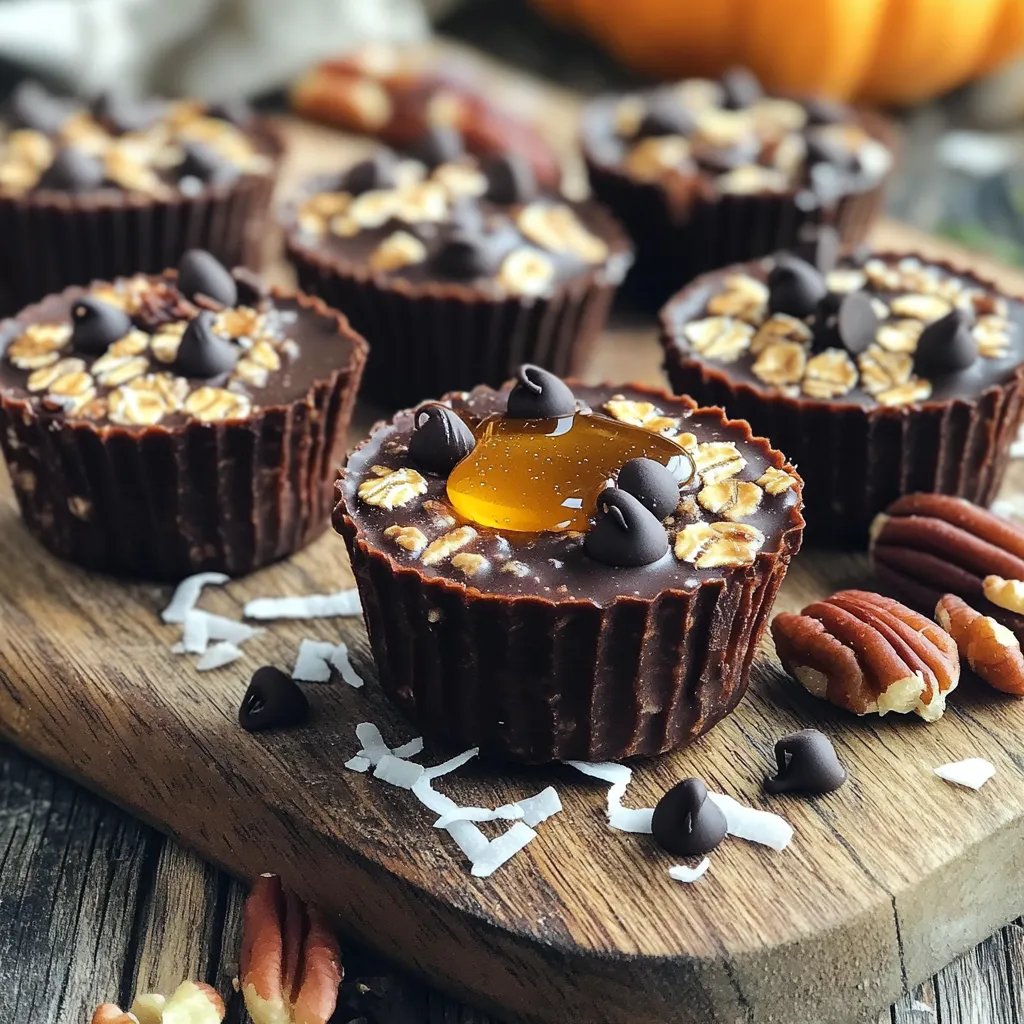
Craving a sweet treat that’s both easy and healthy? Look no further! My no-bake Chocolate Pumpkin Oat Cups combine rich chocolate and pumpkin for a delicious snack or dessert. With just a handful of simple ingredients, you can whip up these tasty oat cups in no time. Perfect for busy days, they’re quick to make and even easier to enjoy. Let’s dive into this fun recipe that your taste buds will love!
Why I Love This Recipe
- Quick and Easy: This recipe comes together in just 10 minutes, making it a perfect last-minute treat or snack.
- Healthy Ingredients: Packed with rolled oats, pumpkin puree, and nut butter, these oat cups are nutritious and satisfying.
- No Baking Required: These delicious cups set in the refrigerator, allowing you to skip the oven and keep your kitchen cool.
- Customizable: Feel free to add your favorite toppings or adjust the sweetness to suit your taste preferences!
Ingredients
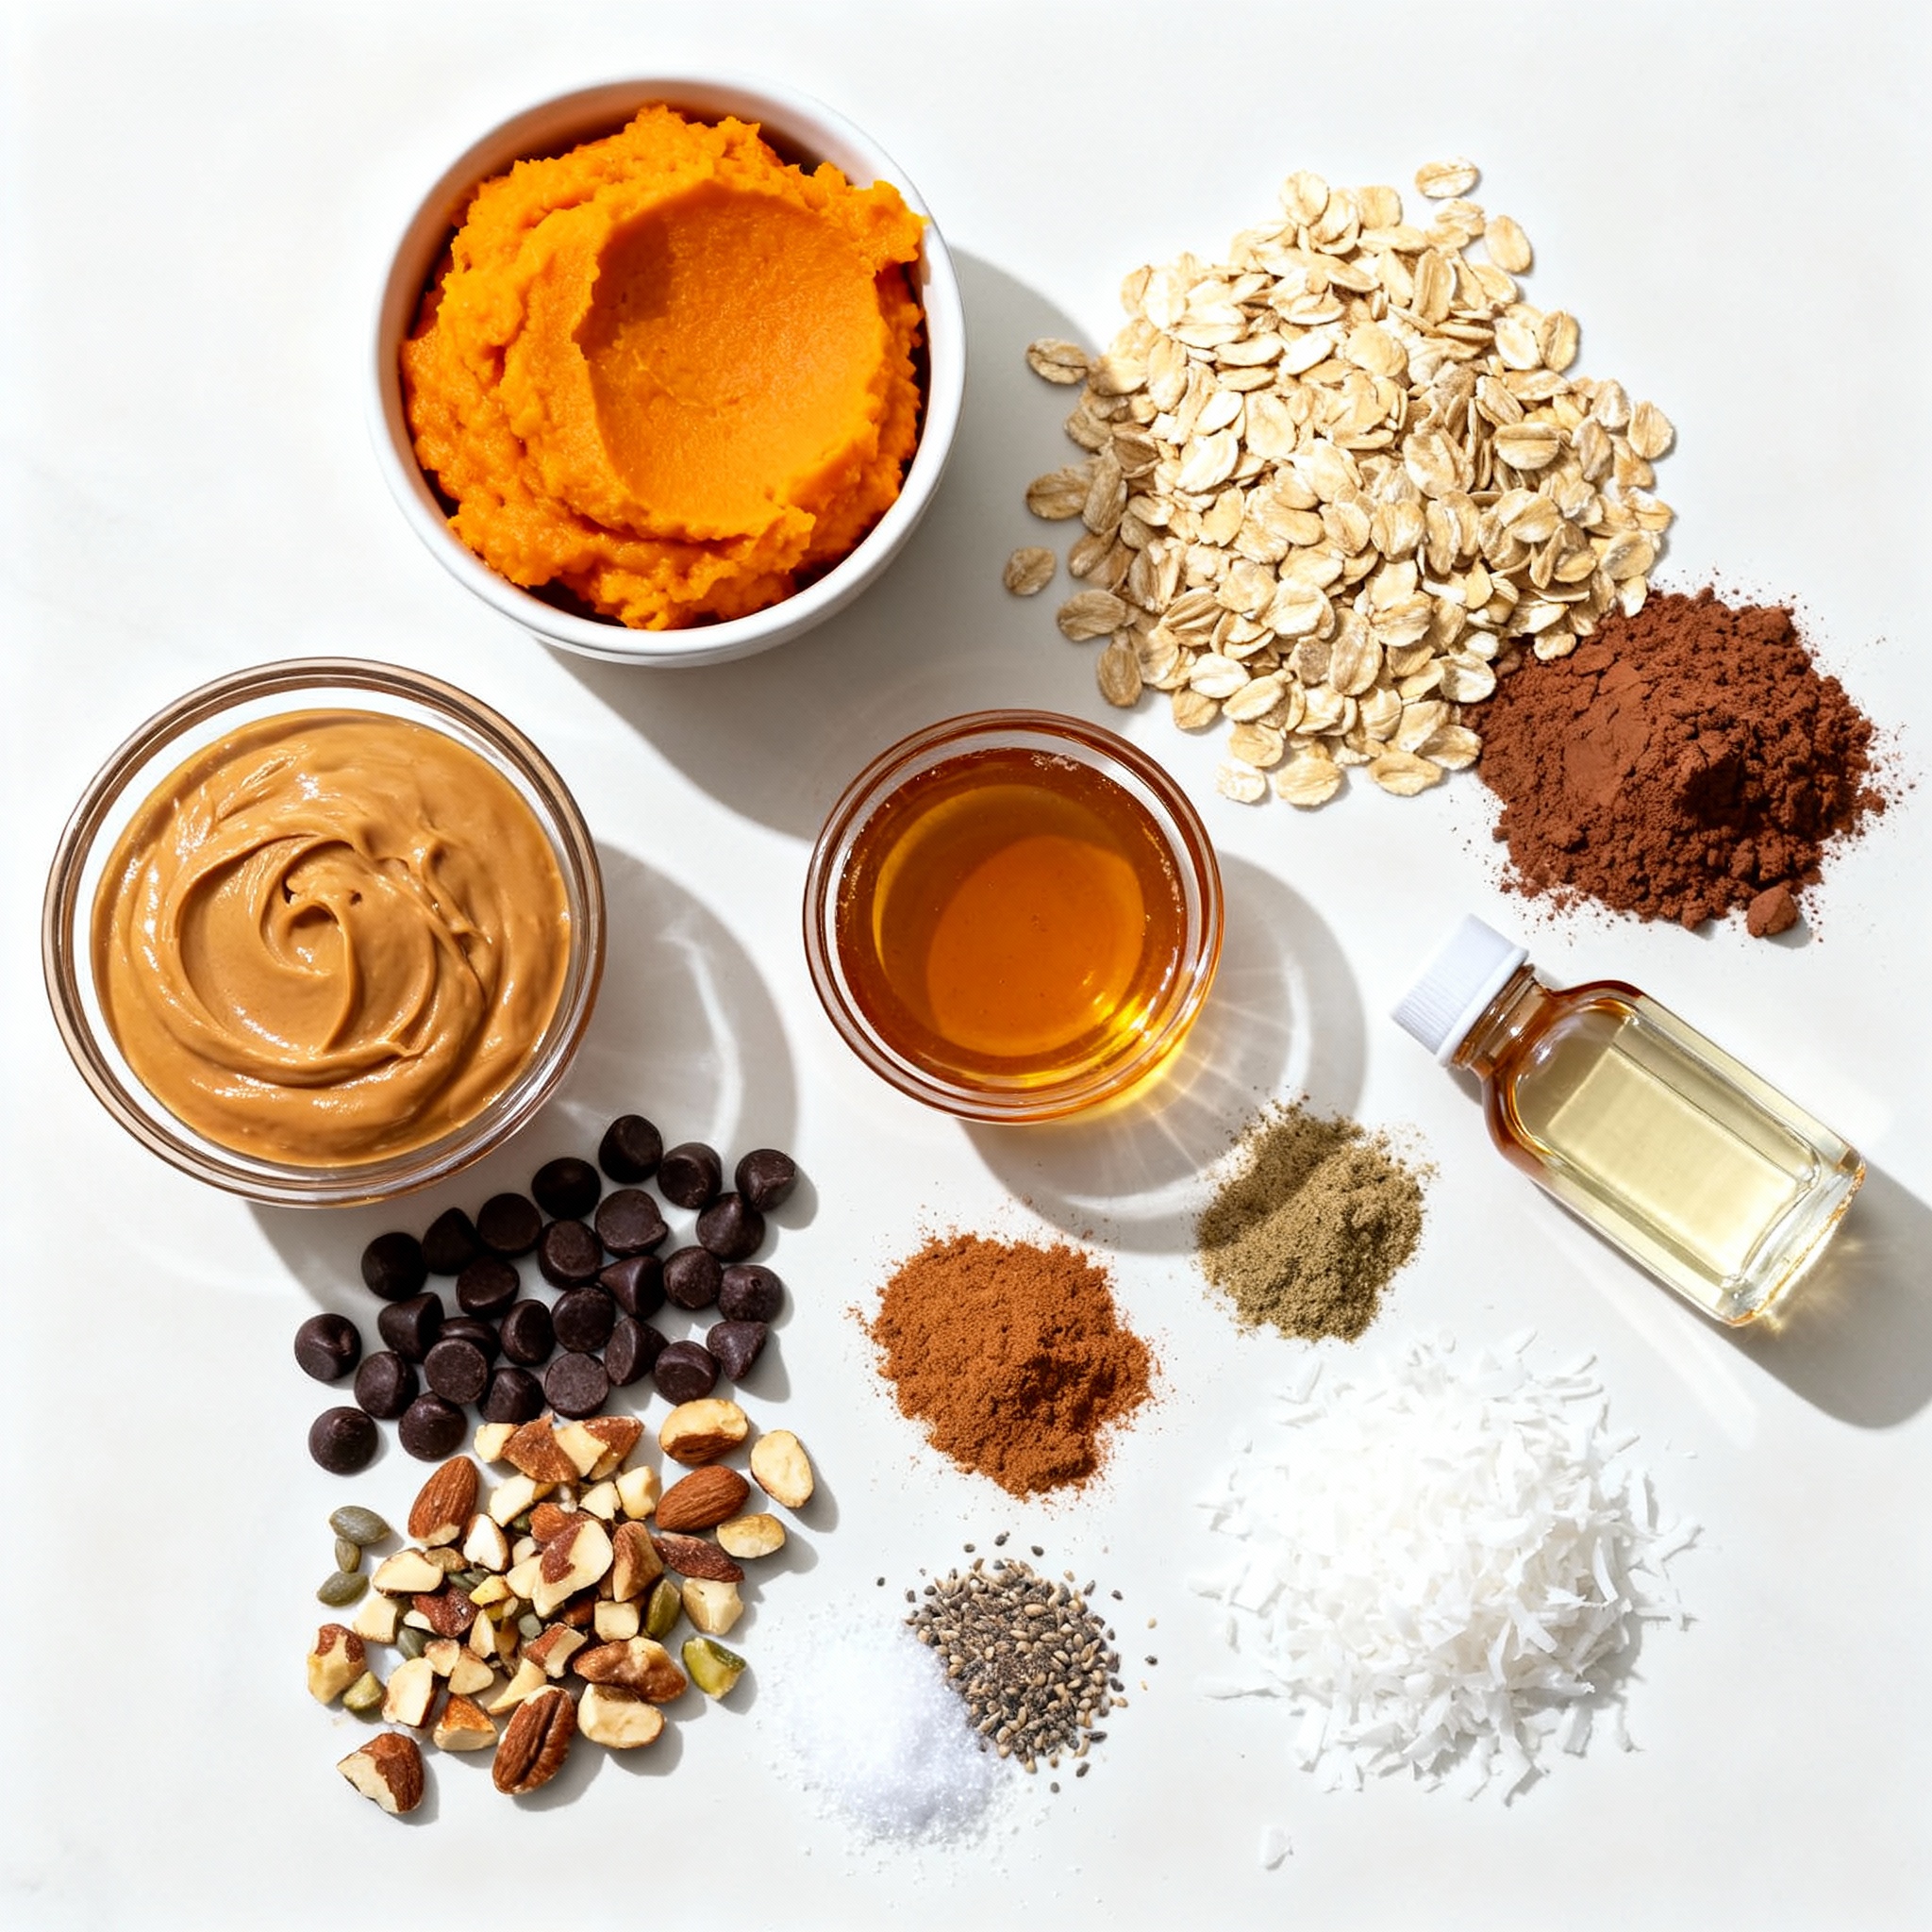
List of Main Ingredients
– 1 cup rolled oats
– 1/2 cup pumpkin puree
– 1/3 cup almond butter
– 1/4 cup honey or maple syrup
– 1/4 cup unsweetened cocoa powder
– 1/4 teaspoon cinnamon
– 1/4 teaspoon nutmeg
– 1/2 teaspoon vanilla extract
– 1/3 cup dark chocolate chips
– A pinch of salt
The main ingredients in these chocolate pumpkin oat cups bring together taste and health. The rolled oats form a hearty base, giving you fiber and energy. Pumpkin puree adds flavor and moisture, while almond butter binds everything together. Honey or maple syrup sweetens the mix naturally.
Unsweetened cocoa powder gives a rich chocolate taste without extra sugar. Spices like cinnamon and nutmeg add warmth and depth. Vanilla extract enhances the overall flavor. Dark chocolate chips bring a sweet surprise in every bite. Finally, a pinch of salt balances the sweetness, making your treat even better.
Optional Toppings
– Chopped nuts
– Seeds
– Shredded coconut
You can customize your oat cups with optional toppings. Chopped nuts add crunch and healthy fats. Seeds, like chia or sunflower, boost nutrition. Shredded coconut brings a fun texture and sweetness. Choose toppings based on your taste.
Ingredient Substitutions
– Nut butter options: You can swap almond butter for peanut or sunflower seed butter.
– Sweetener alternatives: If you prefer, use agave syrup or coconut sugar instead of honey or maple syrup.
Experiment with ingredient substitutions. Use what you have on hand for a unique twist. Enjoy making these oat cups your own!
Step-by-Step Instructions
Mixing the Ingredients
To start, grab a large mixing bowl. You will combine all the main ingredients here. First, add 1 cup of rolled oats. Next, pour in 1/2 cup of pumpkin puree. Then, include 1/3 cup almond butter. You can also use any nut butter you prefer.
Now, add 1/4 cup honey or maple syrup for sweetness. Sprinkle in 1/4 cup unsweetened cocoa powder. This gives your cups a rich chocolate taste. Add a 1/4 teaspoon of cinnamon and nutmeg for warmth. Don’t forget 1/2 teaspoon of vanilla extract and a pinch of salt.
Stir everything until it forms a thick mixture. If it feels too thin, add a little more oats. This thickness helps the oat cups hold their shape.
Preparing the Muffin Tin
Next, choose how to prepare your muffin tin. You can use silicone or paper liners. They make it easy to remove the oat cups later. If you don’t have liners, you can grease the pan with a little oil.
For the best results, a standard muffin tin works well. You could also use a mini muffin tin if you want smaller treats.
Chilling and Serving Suggestions
Once you have filled the muffin tin, it’s time to chill. Place the tin in the fridge for at least 30 minutes. This helps the oat cups firm up nicely.
When they are set, carefully remove the cups. You can enjoy them as they are or add toppings. Try using chopped nuts, seeds, or shredded coconut for extra flavor and crunch. Serve them on a colorful plate for a nice look. Enjoy your no-bake chocolate pumpkin oat cups!
Pro Tips
- Use Creamy Nut Butter: For a smoother texture, opt for creamy almond butter or any nut butter you prefer. This will help the oat cups hold together better.
- Chill Longer for Firmness: If you prefer a firmer texture, consider chilling the oat cups for an hour or more. This will enhance their structure and make them easier to handle.
- Experiment with Spices: Feel free to adjust the spices according to your taste. Adding a pinch of ginger or cloves can give the oat cups a unique flavor twist.
- Customize Your Toppings: Get creative with your toppings! You can add dried fruits, seeds, or even a drizzle of nut butter on top for added flavor and nutrition.
Tips & Tricks
Perfecting the Texture
To get the right mixture consistency, combine all the wet and dry ingredients well. I recommend mixing until you see no dry spots. If the mixture feels too dry, add a little more pumpkin puree or nut butter. This keeps the oat cups from becoming too crumbly.
Press the mixture firmly into the muffin tin. Packing it tightly helps the cups hold their shape. If they fall apart, try using a bit more nut butter next time. A little more moisture can make a big difference.
Enhancing Flavor
Spices can really boost the flavor of your oat cups. Besides cinnamon and nutmeg, consider adding ginger or allspice for extra warmth. You can also mix in superfoods like chia seeds or flaxseeds. These add nutrition without changing the taste much.
Health Benefits
These oat cups have great nutritional highlights. Rolled oats offer fiber, which is good for digestion. Pumpkin is rich in vitamins A and C, promoting healthy skin and eyes. Both ingredients can help keep you full, making this treat a smart snack choice.
The almond butter packs in protein and healthy fats. This balance gives you energy without a sugar crash. Enjoy these oat cups as a tasty way to nourish your body!
Variations
Flavor Variations
You can play with flavors in your oat cups. Try using different nut butters, like peanut or cashew. Each nut butter adds its unique taste. You can also change the sweetener. Use agave syrup or coconut sugar for a new twist.
Spices can transform your treat, too. A dash of pumpkin pie spice adds warmth. You can even mix in some cardamom for a fresh flavor. Mixing spices keeps things exciting and fun!
Dietary Modifications
If you need gluten-free options, use certified gluten-free oats. They work just as well in this recipe. For a vegan twist, swap honey with maple syrup. This keeps your oat cups tasty while meeting dietary needs.
You can also choose dairy-free chocolate chips. These make your treat suitable for vegan diets. Always check the labels to ensure they meet your needs.
Customizing Add-ins
Feel free to get creative with add-ins! You can use different types of chocolate. White chocolate or milk chocolate gives a sweet twist.
Fruits like raisins or dried cranberries add more flavor and chewiness. You can also mix in seeds like chia or sunflower seeds. They add crunch and extra nutrition. Have fun experimenting with what you love!
Storage Info
Best Storage Practices
To keep your chocolate pumpkin oat cups fresh, store them in an airtight container. This helps keep moisture out and prevents them from drying out. You can use a glass jar or a plastic container with a tight lid.
For the best results, place the container in your fridge. This will help the oat cups maintain their soft texture. If you want to save them for later, the freezer is a great option.
Shelf Life of Chocolate Pumpkin Oat Cups
In the fridge, these oat cups last about 5 days. Make sure to check for any signs of spoilage before eating. For long-term storage, you can freeze them for up to 3 months. Just remember to wrap each cup in plastic wrap before placing them in a freezer bag.
Defrosting and Reheating Instructions
To defrost your oat cups, take them out of the freezer and place them in the fridge overnight. This allows them to thaw slowly and keeps their texture nice. If you’re in a hurry, you can also use the microwave. Heat them in short bursts, checking every 15 seconds.
After thawing, serve them cold or warm them up. If you want to warm them, microwave for about 10-15 seconds. Enjoy these delicious treats any way you like!
FAQs
Can I make these oat cups gluten-free?
Yes, you can easily make these oat cups gluten-free. Just choose gluten-free rolled oats. Many brands offer gluten-free options. Always check labels to ensure no cross-contamination. This simple swap keeps your treat tasty and safe.
How long do the oat cups need to chill?
I recommend chilling the oat cups for at least 30 minutes. This time helps them firm up nicely. If you want them a bit firmer, you can chill them longer. Just make sure to keep them in the fridge until you are ready to eat.
Can I replace almond butter with another nut butter?
Absolutely! You can use any nut butter you like. Options include peanut butter, cashew butter, or sunflower seed butter for a nut-free option. Each butter adds its own flavor, so feel free to experiment!
These chocolate pumpkin oat cups blend health and taste beautifully. We discussed key ingredients, like oats and pumpkin puree, and how to mix them properly. I shared tips on storage and variations, showing you how to customize these treats. Remember, you can adjust flavors and ingredients to fit your needs. Try adding nuts or different sweeteners for a twist. Enjoy your baking adventure and savor the results. You’ll love how easy and fun this recipe is!
.png)