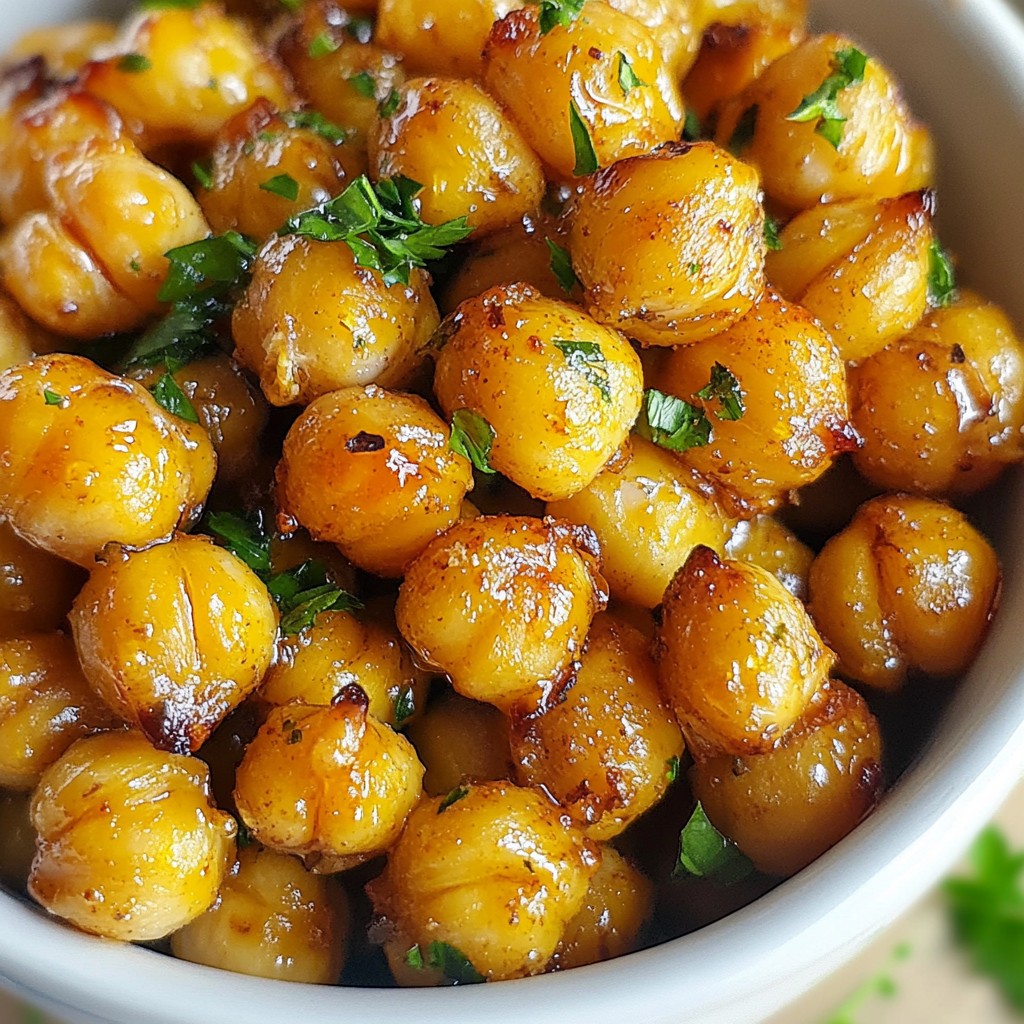
Looking for a quick, crunchy snack that bursts with flavor? You’ll love my Lemon Garlic Roasted Chickpeas! With just a few simple ingredients and easy steps, you can whip up this tasty treat in no time. Whether you’re in need of a healthy snack or a party appetizer, these chickpeas are sure to please. Let's dive into how to make this delicious snack!
Why I Love This Recipe
- Flavorful Crunch: The combination of lemon and garlic creates a zesty flavor profile that elevates the humble chickpea into a delicious snack.
- Easy to Make: This recipe requires minimal prep time and ingredients, making it perfect for a quick and healthy snack.
- Versatile Snack: These roasted chickpeas can be enjoyed on their own, tossed in salads, or used as a crunchy topping for soups.
- Healthy Alternative: With high protein and fiber content, these roasted chickpeas are a nutritious alternative to traditional snacks like chips.
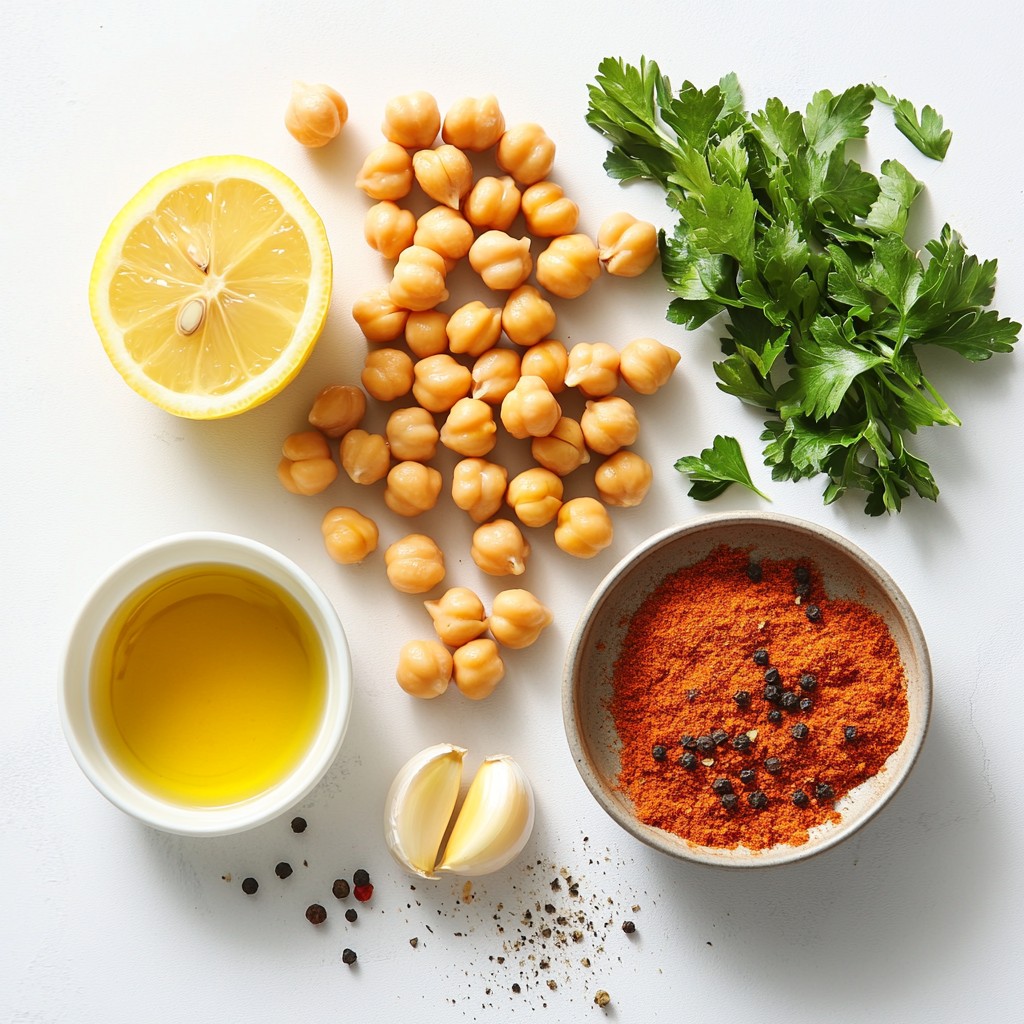
Ingredients
- 1 can (15 oz) chickpeas, drained and rinsed
- 2 tablespoons olive oil
- 1 lemon (zest and juice)
- 3 cloves garlic, minced
- 1 teaspoon smoked paprika
- 1 teaspoon ground cumin
- ½ teaspoon salt
- ¼ teaspoon black pepper
- Fresh parsley, chopped (for garnish)
To make Lemon Garlic Roasted Chickpeas, you need simple ingredients that pack a punch. Start with one can of chickpeas. Rinse them well and drain. This step removes extra sodium. Next, grab two tablespoons of olive oil. This helps the chickpeas get crispy.
Now, for the star of the show: the lemon. You will need one lemon for both zest and juice. The zest adds a bright flavor. The juice gives it a nice tang.
You will also use three cloves of garlic, minced. Garlic adds depth to the taste. For spice, add one teaspoon of smoked paprika and one teaspoon of ground cumin. These spices give warmth and a smoky note.
Don’t forget salt and black pepper. Use half a teaspoon of salt and a quarter teaspoon of black pepper to enhance the flavors. Finally, garnish with fresh parsley. It adds color and freshness to your dish.
With these ingredients, you are set to create a crunchy and tasty snack. Each bite bursts with lemony goodness and garlic flavor. Enjoy the process of mixing these together. It’s simple and rewarding!
Step-by-Step Instructions
Preparation Steps
1. Preheating the oven
Start by preheating your oven to 400°F (200°C). This step is key for achieving crispy chickpeas.
2. Preparing the baking sheet
Line a baking sheet with parchment paper. This makes for easy cleanup later and helps prevent sticking.
3. Mixing the chickpea ingredients
In a mixing bowl, combine the rinsed chickpeas, olive oil, lemon zest, lemon juice, minced garlic, smoked paprika, ground cumin, salt, and black pepper. Toss everything well. Make sure the chickpeas are coated evenly with the mix.
Roasting Process
1. Spreading the chickpeas on the baking sheet
Now, spread the chickpea mixture in a single layer on your prepared baking sheet. This helps them roast evenly.
2. Cooking time and temperature
Place the baking sheet in your preheated oven. Roast the chickpeas for about 25 to 30 minutes.
3. Techniques for even roasting
Halfway through the cooking time, shake the pan gently. This helps to ensure that all sides get equally crispy and golden.
Final Steps
1. Cooling the roasted chickpeas
When the chickpeas are done, remove them from the oven. Let them cool for a few minutes. They will become crunchier as they cool.
2. Garnishing with parsley
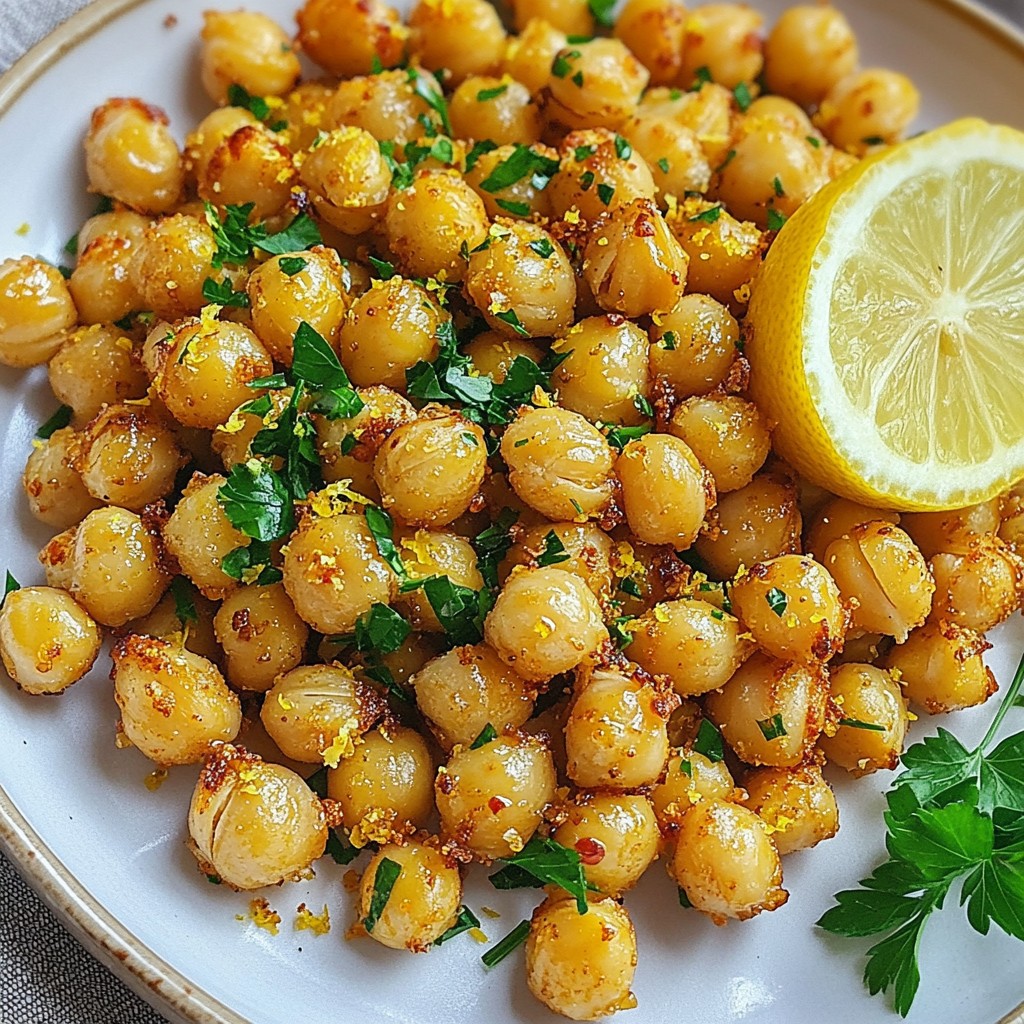
Transfer the roasted chickpeas to a serving dish. Top them with freshly chopped parsley for a pop of color and flavor.
Tips & Tricks
Achieving Perfect Texture
To make sure your chickpeas turn out super crunchy, start with dry chickpeas. After rinsing, pat them dry with a towel. This step removes excess moisture. When you mix the chickpeas with oil and spices, coat them well. This way, they get even crispiness.
Shaking the pan is key. Halfway through roasting, pull the pan out and shake it. This helps the chickpeas roast evenly. You want every side to get that golden crunch. If you skip this step, some may stay soft.
Flavor Enhancements
Want to make your chickpeas even tastier? Try adding spices like cayenne for heat or oregano for an herb twist. You can also mix in some nutritional yeast for a cheesy flavor without dairy.
For serving, these roasted chickpeas pair well with a fresh salad or yogurt dip. They also make a great topping for soups. You can enjoy them as a snack or a crunchy salad add-in.
Pro Tips
- Dry Chickpeas Thoroughly: Ensure the chickpeas are completely dry after rinsing to achieve maximum crispiness when roasted.
- Experiment with Seasonings: Feel free to mix and match spices like cayenne pepper or garlic powder for extra flavor variations.
- Check for Doneness: Keep an eye on the chickpeas in the last few minutes of roasting to prevent over-browning.
- Storage Tips: Store leftovers in an airtight container at room temperature for up to 3 days for the best crunch.
Variations
Alternative Flavor Profiles
You can change the flavor of your Lemon Garlic Roasted Chickpeas easily. For a spicy kick, add cayenne or chili powder. Just a sprinkle can bring heat. Mix it in with the other spices before roasting. It’s a fun twist for those who love spice!
Another option is to bring in Italian flavors. Use dried oregano and basil instead of the paprika and cumin. This gives your chickpeas a fresh taste. Remember to mix in the herbs with the oil and lemon juice. It’s like a little trip to Italy with each crunchy bite!
Dietary Adaptations
These chickpeas fit many diets, too! They are naturally gluten-free, so they work for everyone. If you want to make them vegan, you're already set. This recipe has no animal products.
If you want to mix things up, try different beans. Use black beans or kidney beans for new flavors and textures. Just make sure to adjust the cooking time if needed. Each bean has its own charm!
Storage Info
Short-term Storage
To store leftover roasted chickpeas, place them in an airtight container. Keep the container in the refrigerator. They will stay fresh for up to three days. The chickpeas may lose some crunch, but they will still taste good.
Long-term Storage
For long-term options, you can freeze roasted chickpeas. Spread them on a baking sheet first. Freeze them until solid, then transfer the chickpeas to a freezer bag. They can last up to three months in the freezer.
When ready to enjoy, reheat them in the oven at 400°F (200°C) for about 10 minutes. This helps them regain their crunch. Avoid microwaving, as that can make them soggy. Enjoy your snack!
FAQs
How long do Lemon Garlic Roasted Chickpeas last?
Lemon Garlic Roasted Chickpeas can last for about three days. Store them in an airtight container at room temperature. They may lose some crunch over time. For the best taste, eat them fresh!
Can I use dried chickpeas instead of canned?
Yes, you can use dried chickpeas! Just soak them overnight and cook them until tender. This takes longer but gives great flavor. Be sure to drain them well before seasoning.
What can I serve with Lemon Garlic Roasted Chickpeas?
These crunchy chickpeas pair well with salads, dips, or soups. You can also enjoy them as a snack on their own. They add a nice crunch to any meal.
Are Lemon Garlic Roasted Chickpeas spicy?
No, they are not spicy. The garlic and lemon give them a bright flavor. If you like spice, add cayenne or chili powder for a kick!
In this post, we explored how to make delicious Lemon Garlic Roasted Chickpeas. We covered all the ingredients you need, step-by-step instructions, and tips for great texture and flavor. You can adapt the recipe easily for different diets or spice levels.
Try these roasted chickpeas as a snack or a side dish. They can add crunch and taste to your meals. Storing them is simple, too. Enjoy making this healthy and tasty treat!